
Table of Contents
There is a moment in almost every packaging conversation where a brand owner assumes the hard part is over: the moment the logo is finished. Upload the file, wait a couple of weeks, and boxes of printed bags show up. If you have never ordered flexible packaging before, that mental model is understandable – and it is also exactly backwards.
A printed pouch is an engineered object, and the artwork riding on it is only one small piece of the build. A stand-up bag with a resealable zipper is typically several different films bonded into one laminate, printed in a separate process, then cut, folded, and heat-sealed by machines that have their own tolerances. Between your first email and the pallet on your loading dock, there are roughly seven distinct stages, and each one is a place where a small decision can save you money or cost you a full reprint. This is what that journey actually looks like.
First, a small truth about the word “mylar”
Before any of the process makes sense, it helps to know what you are actually ordering. “Mylar” is a trademark – originally filed by DuPont in the 1950s – for biaxially oriented polyethylene terephthalate, or boPET, a polyester film developed in that same decade by DuPont, ICI, and Hoechst. In everyday usage the name has gone the way of “Band-Aid”: it now means any shiny, crinkly, silver- or clear-plastic film, whether or not the company that owns the mark made it.
Here is the part most buyers do not expect: a “mylar bag” is not a sheet of foil, and it is not one material at all. The base film is plastic – polyethylene terephthalate, the same polymer family as a water bottle – stretched in two directions to align its molecular chains and give it strength. The metallic look comes from a later step called vacuum metallization, where a whisper-thin layer of evaporated aluminum is deposited onto the film inside a vacuum chamber. That layer is what makes the film dramatically less permeable to gas and moisture and gives it that familiar mirror finish. The same technology has an improbable résumé: in 1964 NASA launched Echo II, a 40-metre balloon built from boPET just nine micrometres thick, and the metallized film you know as “space blanket” material traces back to the Apollo era. The silver film protecting a bag of roasted coffee has spent decades keeping spacecraft warm and photographic reels intact.
The spec sheet matters more than the logo
The real design work starts before anyone opens Photoshop, and it is not visual. It is a series of engineering questions about what the bag has to survive: what goes inside, how heavy it is, whether it is oily or abrasive or needs to stay fresh for months, whether the product is sensitive to light, moisture, or oxygen, and whether it will sit on a retail shelf or ship direct to a customer.
Those answers decide the film structure, and the film structure is the single most consequential decision in the entire order. A typical stand-up pouch is a laminate of two to four layers, each with a job: an outer layer that carries the print and provides stiffness, a middle barrier layer that blocks oxygen, moisture, and light, and an inner food-grade polyethylene layer that heat-seals shut and touches the product. Coffee gets a one-way degassing valve so roasted beans can release CO2 without letting air in. Regulated products, such as cannabis in most US states, need child-resistant closures and odor barriers built into the spec from day one, not bolted on later. Getting the structure wrong cannot be fixed at the printing press; it is a reorder.
Prepress: where reprints are born
Once the spec is locked, the artwork finally gets involved – and this is where first-time buyers lose the most time. Your supplier hands you a dieline, a blank template showing exactly where the pouch folds, seals, and where the gusset sits at the bottom. Every element – logo, warnings, nutrition or compliance panels, barcodes – has to sit inside the safe zone, clear of the seal areas, or it will be folded into a seam or cut off.
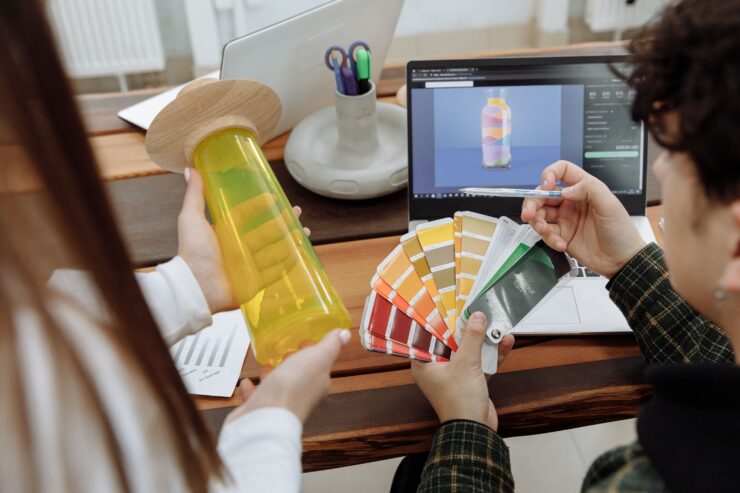
Printing on film is not printing on paper. Transparent and metallized films need a white ink underprint beneath the colored layers, or your brand colors will come out translucent and dull. Colors are specified in CMYK or as Pantone spot colors, and what looks right on a backlit monitor will not automatically look right on a metallized surface. That is what the proof is for: a digital or 3D mockup showing your artwork wrapped around the actual bag shape, which you approve before any production tooling is made.
My advice here is blunt: the artwork is the cheapest thing you will approve, so do not economize on proofing. A corrected digital file costs nothing; a corrected run of printed film means paying for plates or cylinders a second time and losing weeks. Many suppliers will also make a physical sample before a full run. For a first order, take it – film behaves differently from a screen, and holding the real pouch in your hand is the only reliable way to judge color, finish, and zipper feel.
Gravure, flexo, or digital: pick before you price
Production printing on flexible film comes down to three main technologies, and which one your order runs on drives your minimum order quantity, your unit price, and how long you wait. This is the fork in the road that most price comparisons gloss over.
| Rotogravure | Flexography | Digital | |
|---|---|---|---|
| How the image is applied | Engraved metal cylinders | Flexible photopolymer plates | Inkjet heads, no plates |
| Setup cost | High (cylinder engraving) | Moderate (plate making) | Near zero per design |
| Natural order size | Very large, repeat runs | Medium to large | Small batches and test runs |
| Where it wins | Rock-solid color at massive scale | Fast, cost-effective mid volumes | Low minimums, many SKUs, quick turns |
Source: flexible packaging converter guides and market reporting consulted in September 2026; setup economics and typical run sizes vary by supplier.
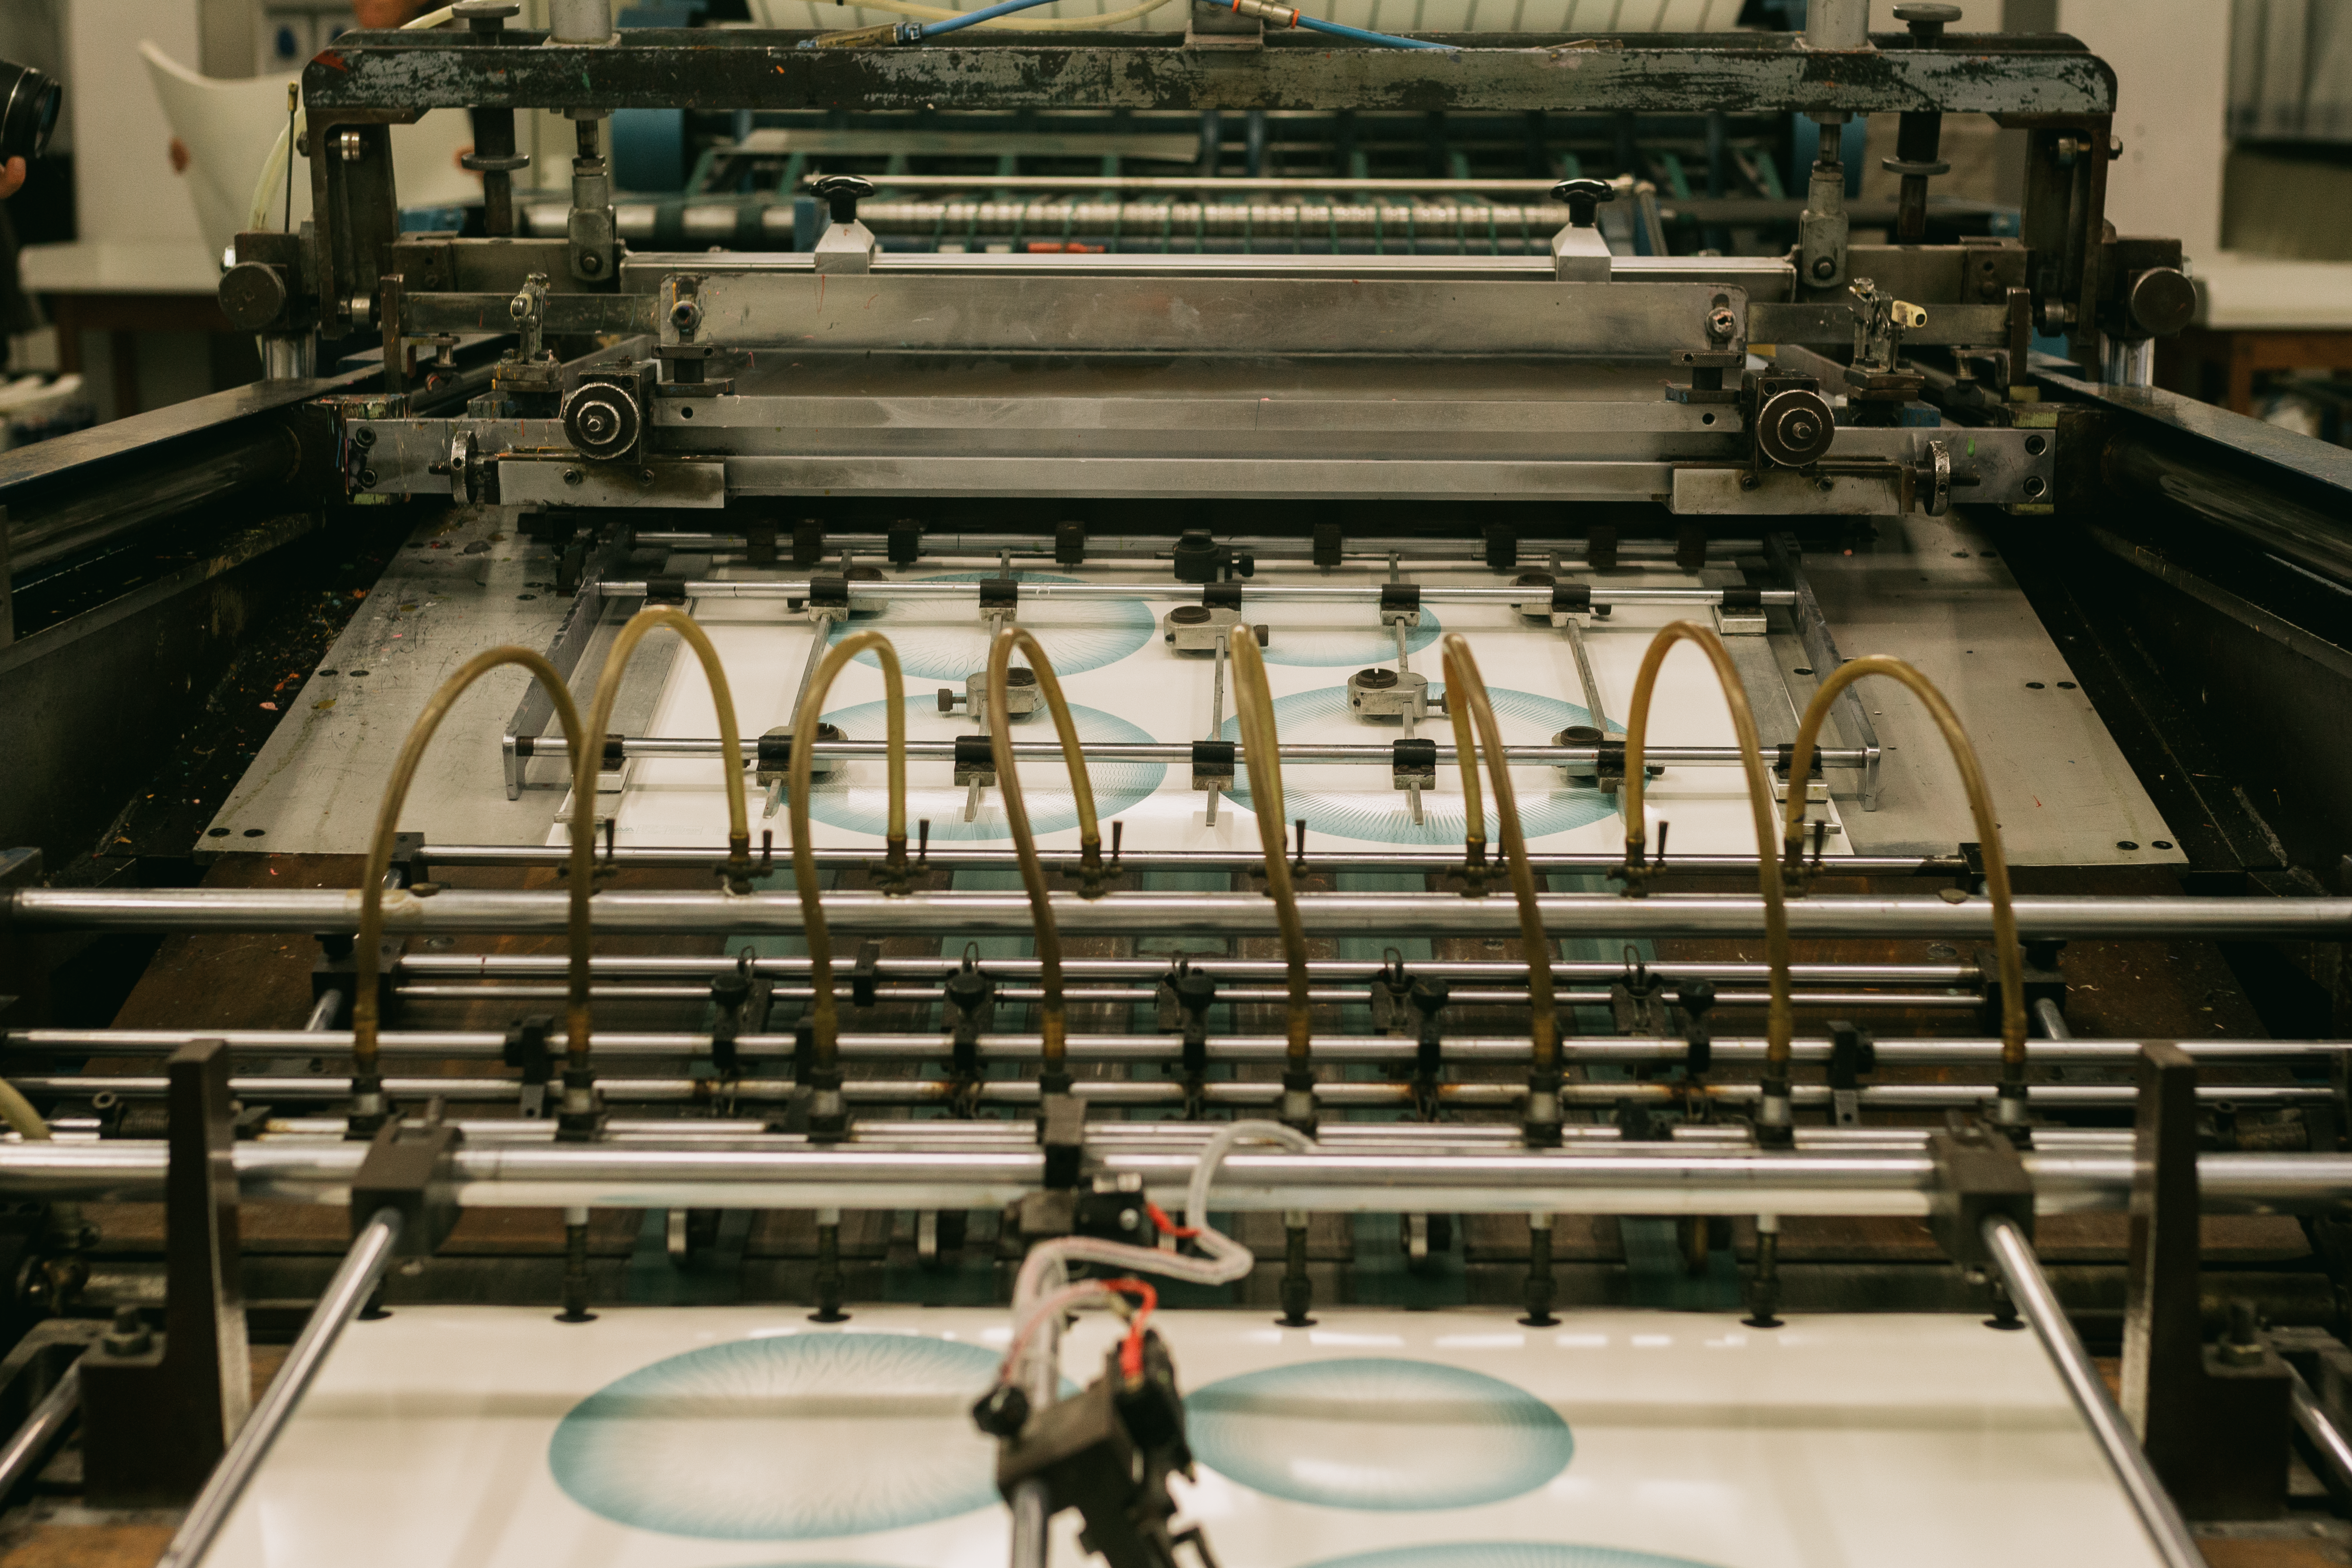
Gravure gives the deepest, most consistent color of the three and is the standard for enormous runs, but the engraved cylinders are expensive – an investment that only pays off if you print enough pouches to amortize it. Flexo uses flexible plates and is the workhorse for medium and large volumes. Digital printing skips plates entirely, which is why it has quietly reshaped the market: it lets suppliers take orders of a few hundred pouches and lets brands run multiple designs in a single order. The effect is visible in the wider industry – pouches and similar formats took roughly 46% of flexible packaging revenue in 2025, according to Mordor Intelligence, which also credits digital presses with compressing product launch cycles for smaller brands.
For a brand finding its feet, I would take the digital route even if the per-unit price is higher. Paying more per bag to order a hundred instead of ten thousand is a bargain if it means you can test the market, fix the artwork, and reorder without sitting on a mountain of obsolete packaging. Packaging veterans will tell you digital color can’t match gravure on metallized film, and for the most demanding brand work they are right – but that is a scale problem, and most young brands do not have it yet.
Lamination and the wait nobody can skip
After the film is printed, it does not become a bag yet. The printed outer layer has to be bonded to the barrier and sealant layers in a process called lamination, where adhesives join the films into one structure. Manufacturers use solvent-based or solvent-free adhesives, and the choice matters for odor, cost, and food safety – solvent-free lamination avoids residual-solvent smells that can taint a product like coffee or flower.
Then comes the step that frustrates every buyer’s schedule: curing. The laminated rolls sit in a temperature- and humidity-controlled room for roughly two to four days so the adhesive reaches full bond strength. This step cannot be rushed, and this is where impatient suppliers cut corners. Rush the cure and the layers delaminate – not at the factory, but weeks later, in your warehouse or on a retail shelf, with your product inside. Delamination and weak seals are the two most common quality failures in flexible packaging, and both trace back to process discipline, not to the artwork.
Sealing, slitting, and the standing-up trick
Once the laminate has cured, the wide master roll is slit down into narrower rolls sized for the bag-making machines. Only now does flat film become a three-dimensional pouch.
A stand-up pouch is not just a bag with a flat bottom. Its base is a folded gusset – a W-shaped tuck of film – that opens into a wide, stable footprint when the bag is filled. On the pouch line, the machine folds that gusset, heat-seals the edges, punches in tear notches and hanging holes, and applies closures like resealable zippers or child-resistant zips, all in one continuous, automated pass. The inner polyethylene layer is the heat-seal material: it melts and bonds to itself under precisely controlled temperature, pressure, and dwell time. Too little heat and you get an under-sealed bag that leaks product; too much and you get burnt, brittle seals that fail in transit.
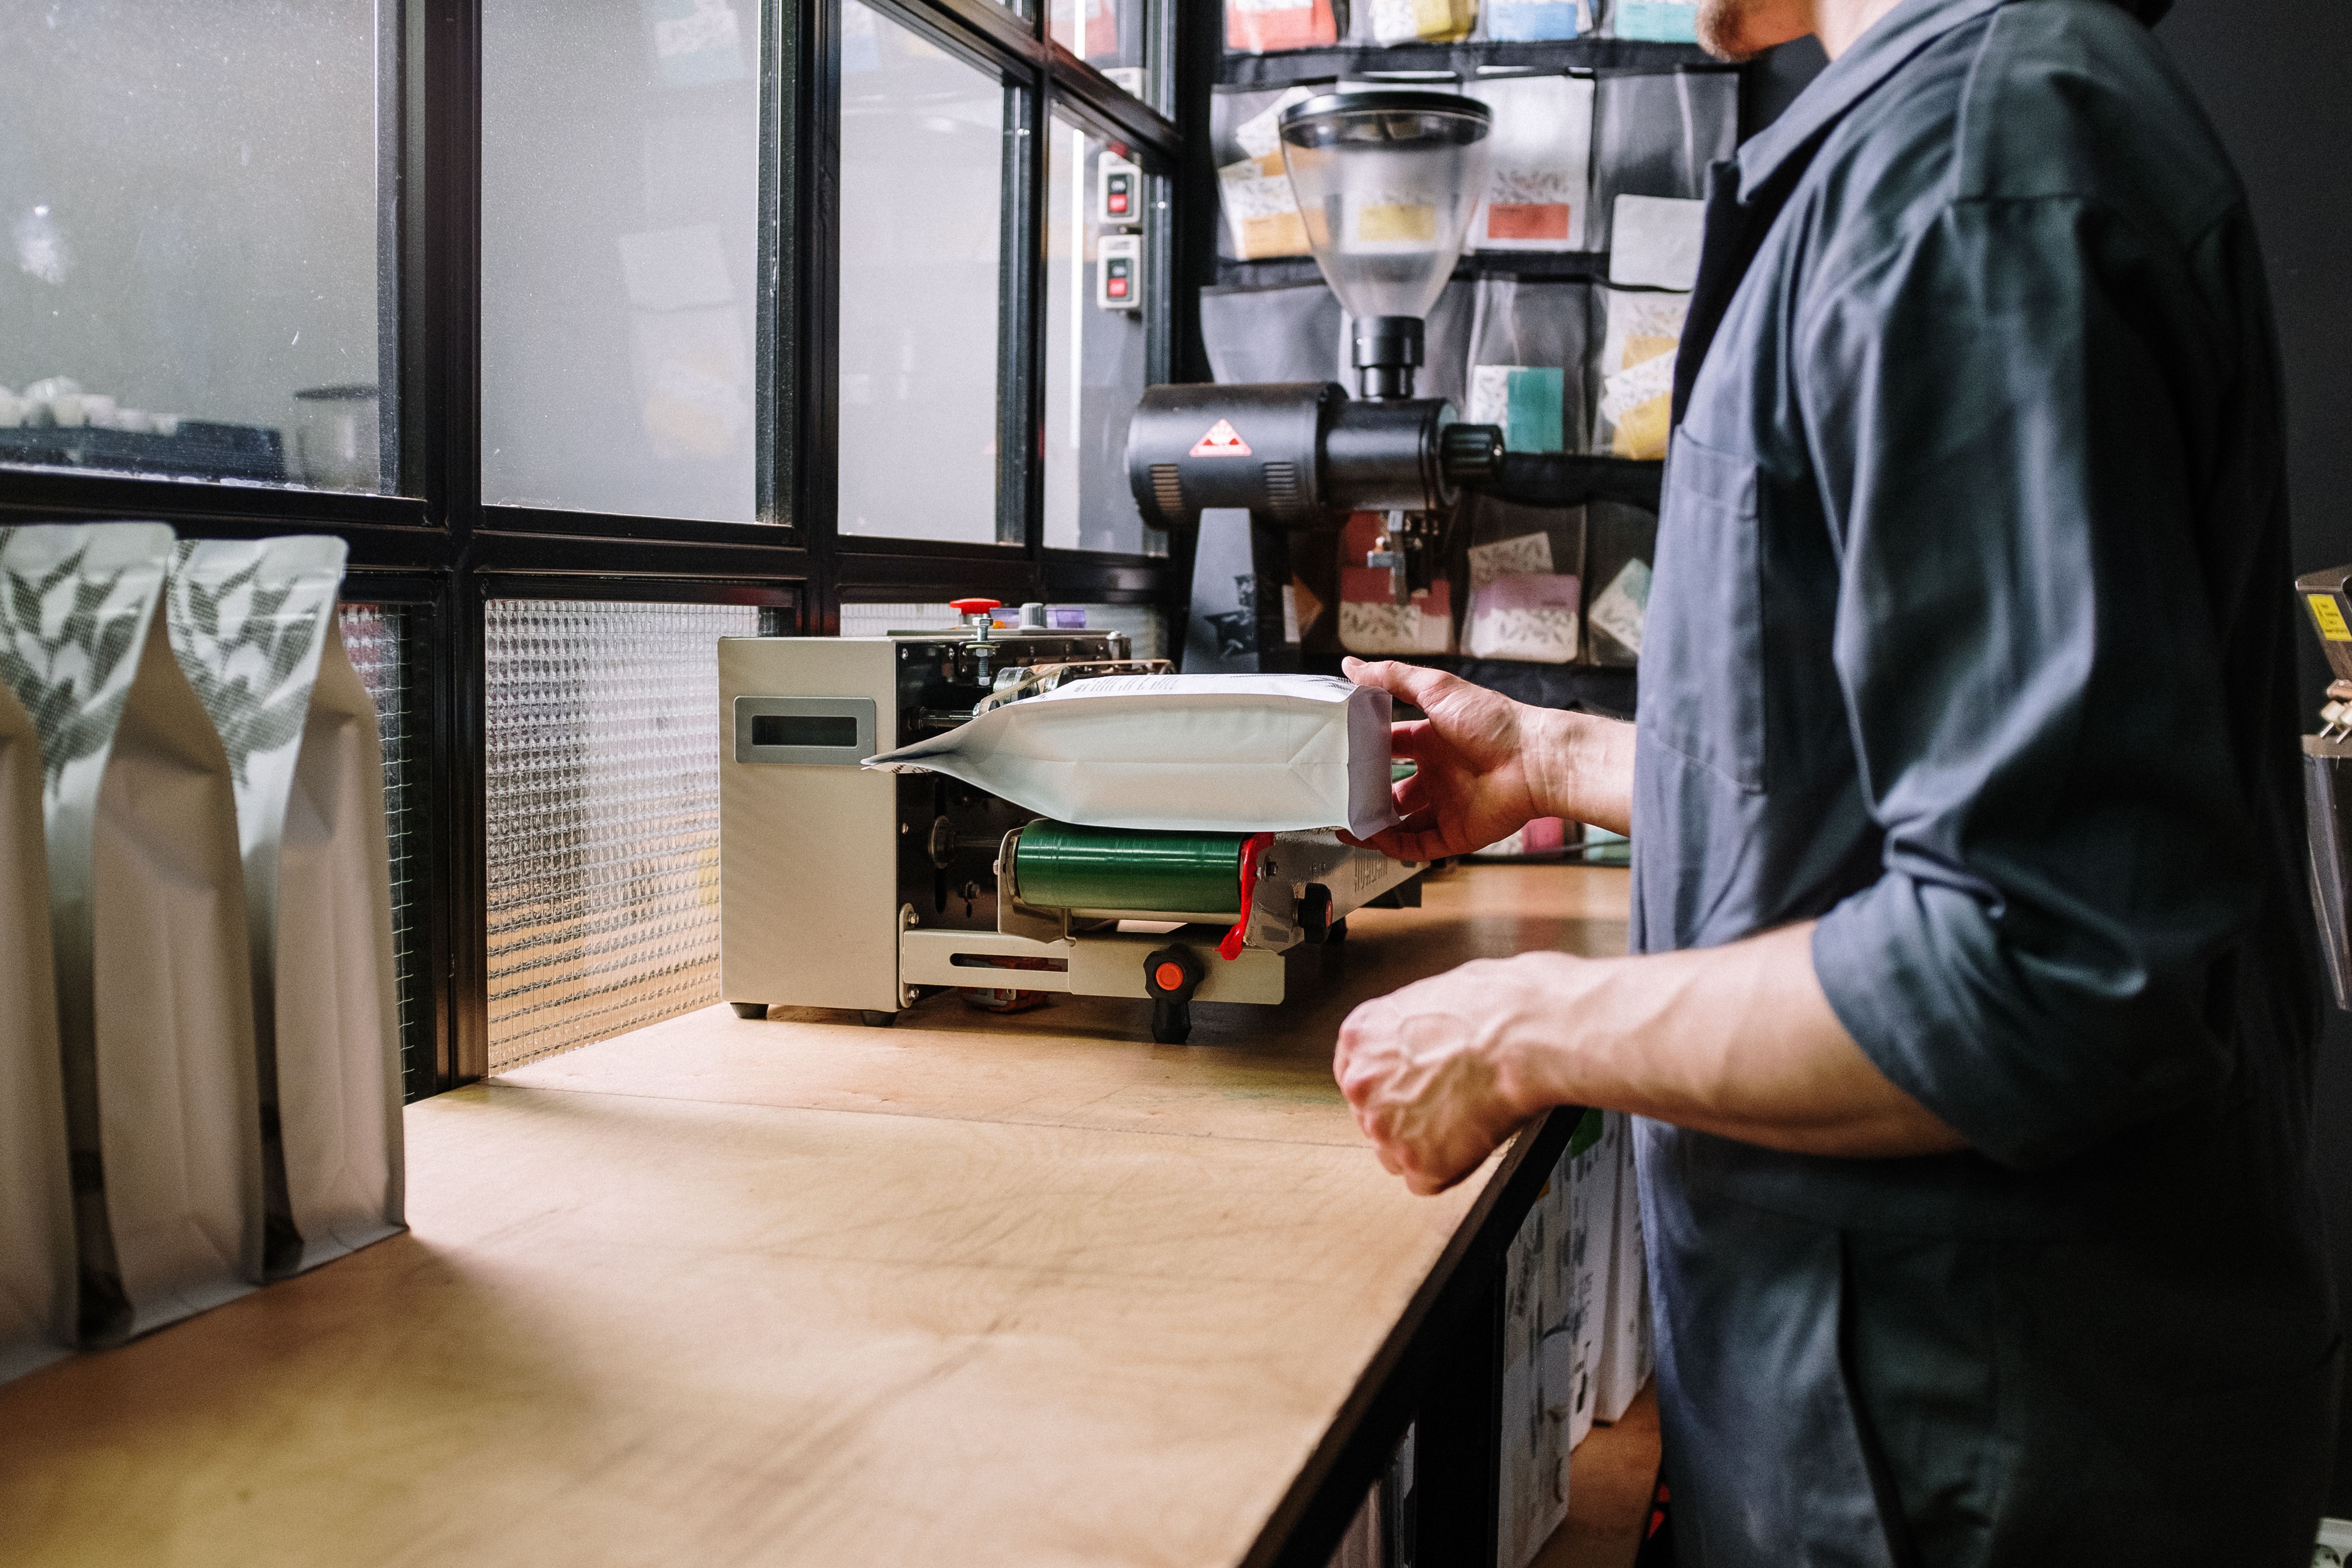
Quality control runs through every stage – color checks against the approved proof, seal-strength and burst testing, automated cameras scanning for print flaws and misalignment – and finished pouches are typically sampled against an AQL (acceptable quality limit) standard before the batch ships. This is why realistic lead times for a custom order usually land in the 10-to-15 working day range after proof approval: the calendar is full of steps that simply take days, and the curing room alone eats a third of it.
The argument worth having: barrier versus recyclability
There is a legitimate case against everything I have described above, and you will hear it from sustainability teams and regulators: multilayer metallized pouches are a nightmare to recycle. The layers that make the bag such a good barrier are bonded so tightly that standard recycling streams cannot separate them. In the UK, only about 7% of collected flexible plastic packaging ends up recycled, per WRAP figures cited by Mordor Intelligence, and the EU’s new Packaging and Packaging Waste Regulation is pushing hard in the other direction, toward mono-material films that can flow through existing recycling. Biodegradable and compostable materials are now the fastest-growing segment of the flexible packaging market.
That is a real tension, and I would not dismiss it. But I would also resist letting it drive the spec. Here is the dilemma, stated plainly: if your product is roasted coffee, or dried flower, or anything whose entire value is freshness, choosing a weaker, recyclable structure to feel responsible is the one choice that guarantees your product goes stale and your packaging ends up in the bin anyway, only faster. The better question is whether your product needs a heavy barrier at all. Shelf-stable snacks, pet treats, and many dry goods survive fine in simpler, recyclable mono-material pouches – and a digital-first, order-small approach means you are not warehousing thousands of bags you may redesign next season. Match the barrier to the product, then match the material to the recycling reality. Most brands get one of those two decisions wrong.
What a sane first order looks like
None of this is a reason to be intimidated – it is a reason to ask better questions. A sane first order runs roughly like this: define your product and target volume, get a film-structure recommendation, request the dieline and build your artwork on it, approve a digital proof, order a physical sample if one is offered, then let production run.
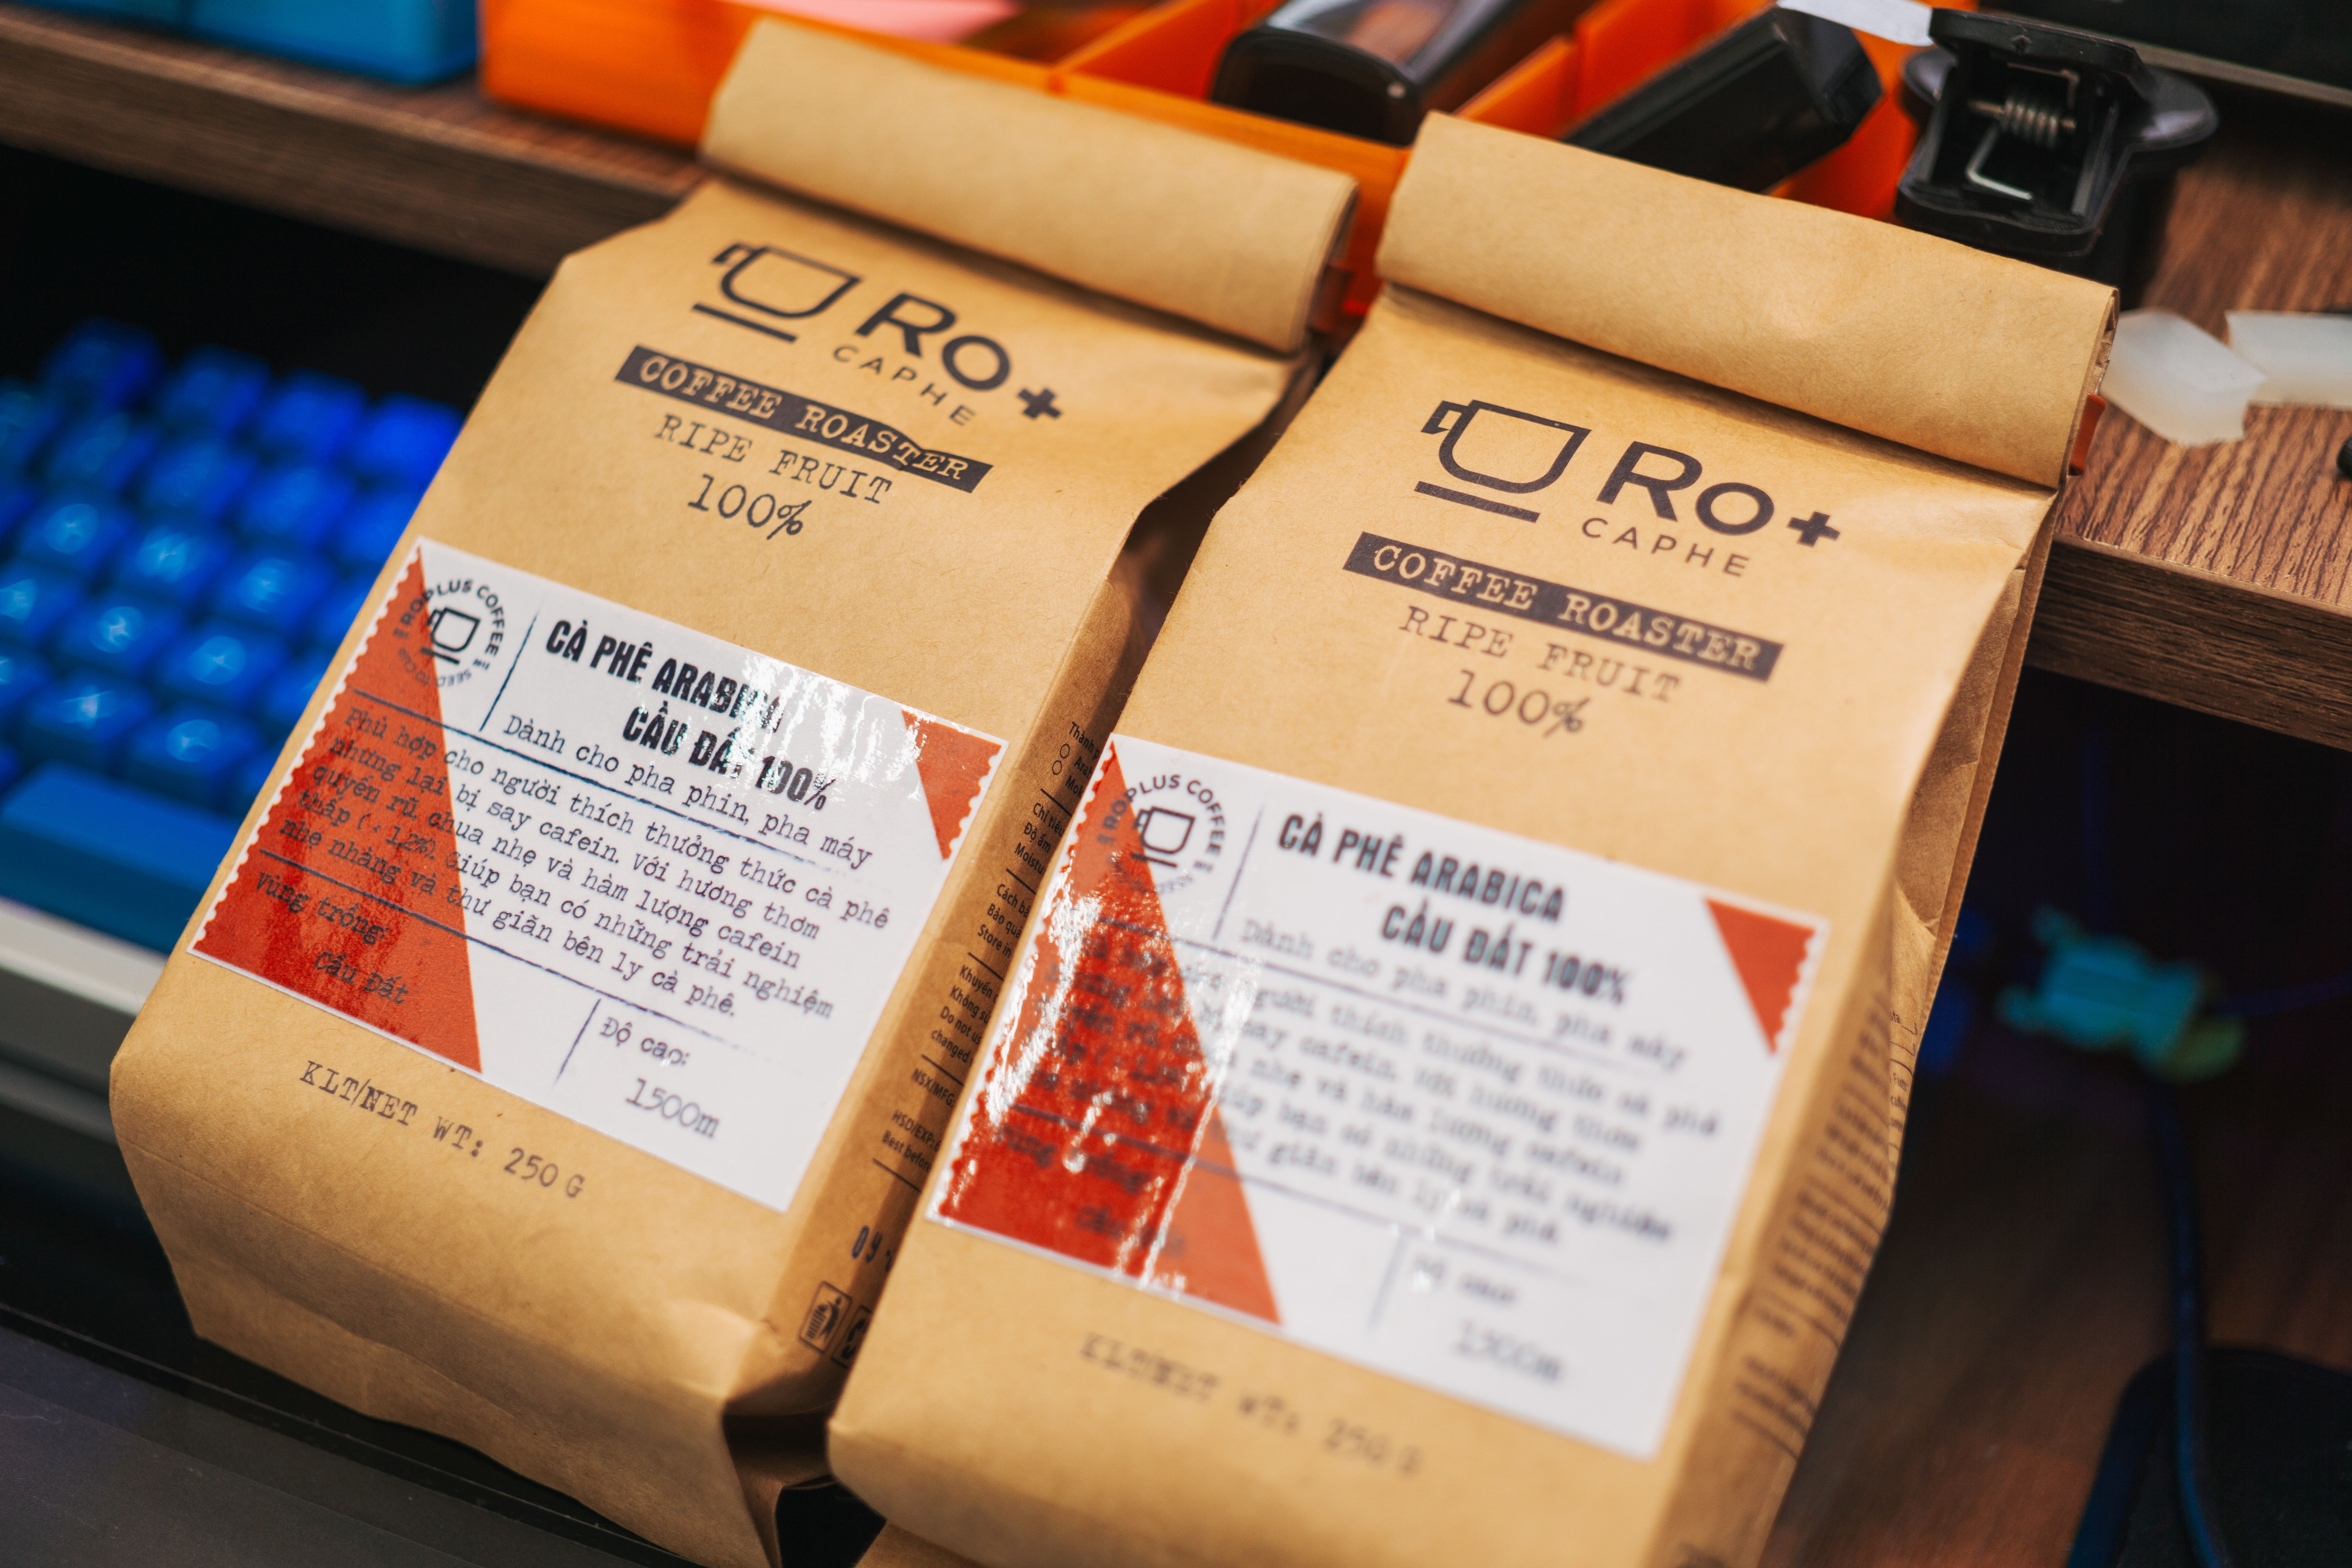
The single most useful thing a first-time buyer can do is choose a supplier that treats the whole arc – structure advice, dieline support, proofing, and production – as one job rather than handing you a price list. If you are sourcing custom mylar bags, look for a partner that offers design support and a genuinely low minimum order, because the whole point of the digital printing era is that you no longer need to bet your launch budget on one massive, unchangeable run.
Understand what you are buying, and the process stops being a black box. The film structure keeps your product alive, the proofing keeps your brand colors honest, the printing technology sets your minimums, and the curing room is the one place nobody gets to hurry. Get those four right and the finished bag on the shelf – the one that stands up straight, seals properly, and makes your product look like it cost twice what it did – takes care of itself.
How this article was put together. The manufacturing stages, curing times, and typical lead times reflect flexible packaging converter guides and supplier documentation consulted in September 2026; market share and recycling figures come from Mordor Intelligence’s flexible packaging report (updated July 2026) and Wikipedia’s documentation of boPET film history. Lead times, minimums, and setup economics vary by supplier and should be confirmed on any specific quote. Market-size and recycling statistics will drift over time and are worth rechecking after 2026.