Table of Contents
Did you know improperly maintained natural stone surfaces can lose their luster within a few years, even though they are built to last for decades? Travertine, a popular choice for its elegance and durability, often suffers from stains, scratches, and cracks over time. The right methods can bring back its charm, saving you from costly replacements.
Key Points:
- Begin by inspecting the surface to understand the extent of damage.
- Use appropriate cleaning products to avoid harming the stone.
- Fix cracks with stone fillers for a smooth finish.
- Polishing revives the gloss of travertine surfaces.
- Sealing prevents future stains and damage.
- Regular maintenance extends the life of the restoration work.
Inspection and Preparation: Laying the Groundwork

Every successful restoration begins with understanding the current state of the travertine. Inspecting the surface carefully helps determine what needs fixing—whether it’s discoloration, cracks, or a dull finish.
Start by cleaning the surface with a soft, dry mop or cloth to remove loose debris. Examine areas with the most wear, such as entryways or spaces with heavy foot traffic. Look for stains that have penetrated the surface, cracks along grout lines, or a faded sheen.
Preparation involves more than cleaning. Use painter’s tape to protect walls and adjacent surfaces during the restoration process. Skipping this step can lead to unnecessary mess or damage to other materials nearby.
Some restoration tasks demand specialized skills and equipment. Deep scratches, uneven surfaces, or extensive stains often require expert intervention.
Companies like Renue Hawaii provide comprehensive travertine restoration and polishing services, including polishing, sealing, and advanced restoration techniques. Certified technicians ensure high-quality results tailored to the specific needs of your surface.
Cleaning the Travertine: Essential First Steps
Travertine cleaning requires the right tools and products. Avoid acidic cleaners like vinegar or lemon juice; these can erode the stone’s surface. Instead, use a pH-neutral cleaner designed for natural stone.
Cleaning Steps:
- Dust and sweep: Remove loose dirt with a microfiber mop.
- Wash the surface: Use a diluted stone cleaner and a soft-bristle brush.
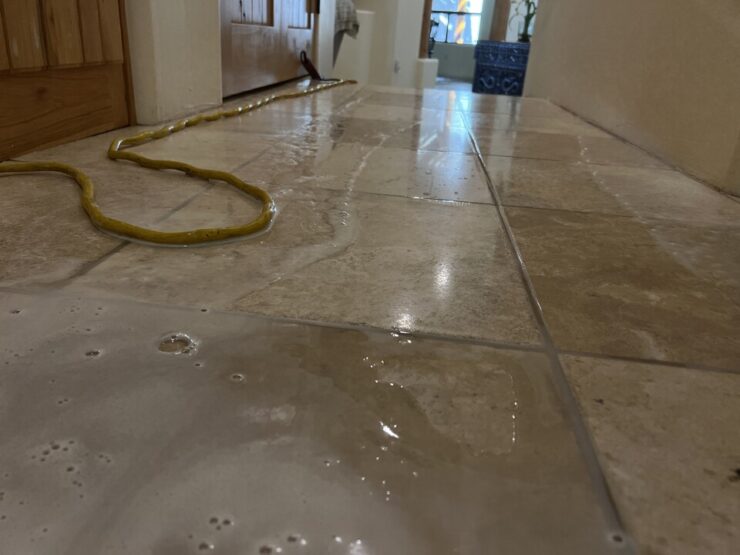
- Rinse thoroughly: Wipe off any soapy residue with clean water.
- Dry completely: Use a lint-free cloth to avoid water spots.
Neglecting proper cleaning may cause issues during later stages, such as staining or uneven polishing.
Stain Removal: Tackling the Tough Spots
Stains are among the most common challenges. Whether caused by spills, oil, or dirt, they require specific solutions.
For oil-based stains, create a poultice using baking soda and water. Spread it over the stain, cover with plastic wrap, and leave it overnight. For organic stains like coffee or wine, a hydrogen peroxide solution works well.
Patience is key here. Never scrub aggressively, as it can damage the delicate surface. If a stain doesn’t lift after one treatment, reapply the poultice.
Repairing Cracks and Chips for a Smooth Finish
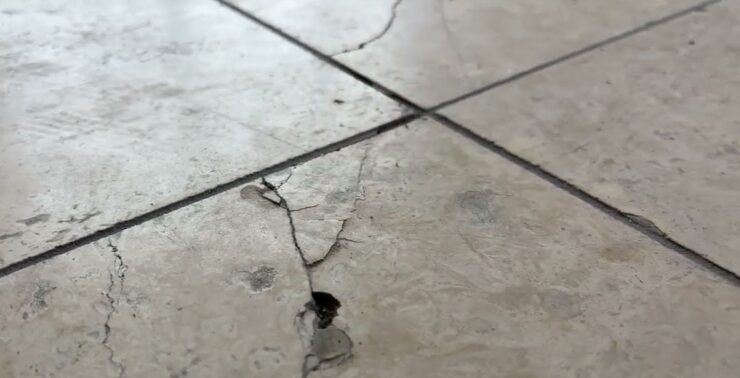
Cracks and chips can ruin the seamless appearance of travertine surfaces. Fixing them not only improves aesthetics but also prevents further damage.
Start by thoroughly cleaning the damaged area. A ready-made stone filler in a shade matching your travertine works best. Apply it with a putty knife, ensuring the crack is fully filled. Let it dry, and sand the area lightly with fine-grit sandpaper.
For large cracks or widespread damage, professional expertise ensures better results. Attempting extensive repairs without the right tools might lead to uneven finishes or worsened damage.
Polishing Techniques to Revive Shine

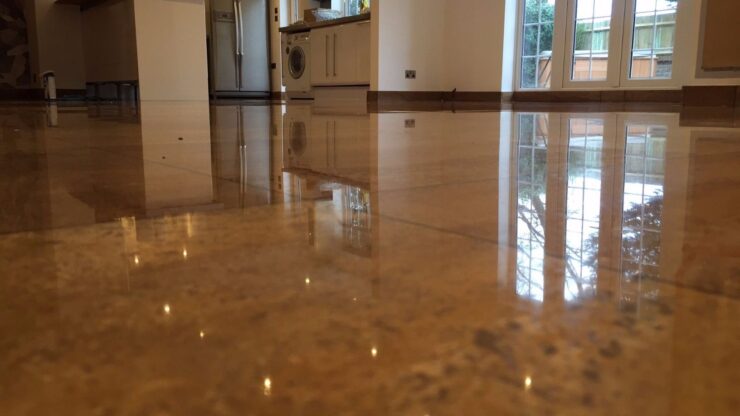
Polishing enhances the natural beauty of travertine by restoring its smooth, glossy appearance. Professional-grade diamond polishing pads yield the best results. Begin with a coarse grit to remove scratches, and gradually move to finer grits for a mirror-like finish.
When using a machine polisher, work slowly and evenly across the surface. Manual polishing works well for small areas or tight corners. Always keep the surface slightly damp during polishing to prevent heat buildup, which can damage the stone.
Sealing: Protecting Your Hard Work
Sealing is a critical step for preserving the results of your restoration. Without it, travertine remains vulnerable to stains and moisture damage.
Use a high-quality impregnating sealant. Apply it evenly with a clean applicator pad or cloth, ensuring the surface is completely dry beforehand. Let the sealant cure for at least 24 hours before exposing the surface to moisture.
Reapply sealant annually in high-traffic areas. This ensures consistent protection and reduces the need for frequent deep cleaning or restoration.
Advanced Restoration for Severe Damage
In some cases, regular restoration techniques may not be enough. Severely scratched or heavily worn travertine may require professional honing and grinding. This process removes a thin layer of the stone to eliminate deep damage, followed by polishing to restore the finish.
Advanced restoration may also include color enhancement for faded travertine. Special enhancers bring out the stone’s natural tones, revitalizing its visual appeal.
Maintaining Travertine Floors for Longevity

Regular maintenance prevents small issues from escalating into major problems. A simple routine ensures your restored travertine stays beautiful for years.
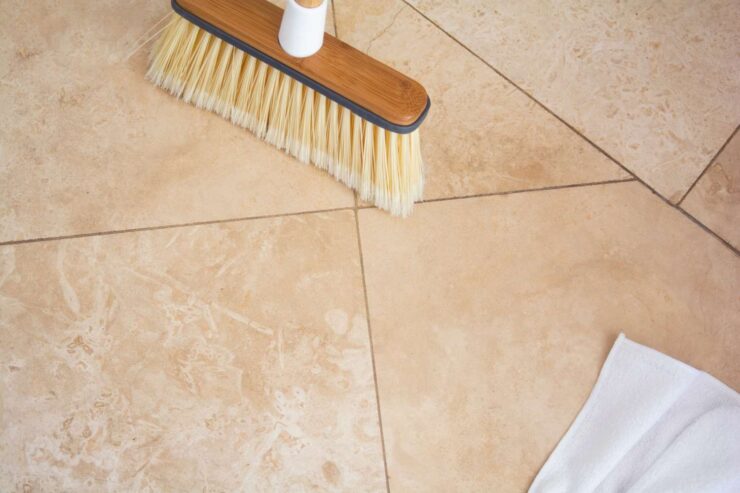
- Daily Care: Sweep with a soft broom or vacuum with a brush attachment.
- Weekly Cleaning: Mop with a pH-neutral cleaner.
- Avoid Spills: Wipe up liquids immediately to prevent stains.
- Protective Measures: Use rugs in high-traffic areas and pads under furniture.
Periodic professional cleaning complements your efforts, keeping your travertine in optimal condition.
Avoiding Common Mistakes During Restoration
Many homeowners unknowingly make errors that can harm their travertine. Understanding what to avoid is as important as knowing what to do.
- Skipping Sealing: Leaving the surface unsealed invites stains and moisture damage.
- Using Harsh Chemicals: Acidic cleaners weaken and dull the stone.
- Over-Polishing: Excessive polishing reduces grip, creating slippery surfaces.
Restoring Travertine Floors with Confidence
Restoring a travertine floor is not just about fixing imperfections; it’s about preserving its timeless beauty and ensuring durability. By following these steps, using the right tools, and avoiding common pitfalls, you can achieve professional-quality results at home.
For situations requiring advanced techniques, don’t hesitate to consult professionals. With proper care and attention, your travertine will remain a stunning feature of your home for decades.

